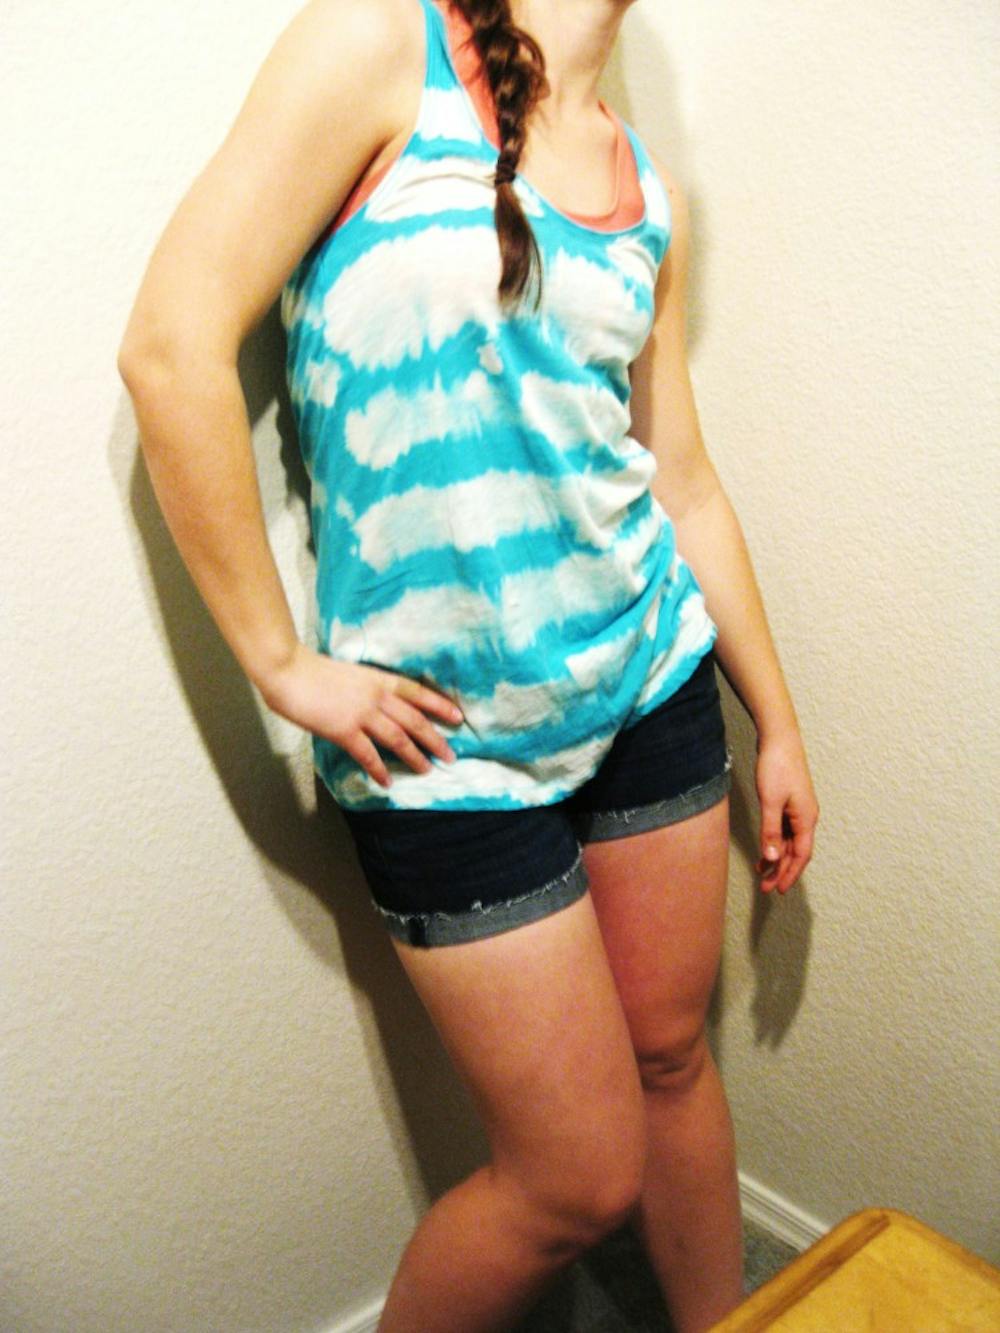
This past week, my friend Jenni and I decided to try our hands at creating the perfect ensemble to wear that all our friends would envy. My roommate gave us the idea of bleached shirts, which are just shirts made by bleaching out areas on the fabric to create designs or patterns. What’s great about this project is that you really don’t even need to go out and buy anything extra—the materials can essentially be found lying around the house as most people have bleach or bleach pens hanging around for keeping their whites extra white. Besides that, you can choose to go out and buy a new shirt at stores like Target, Forever 21, or H&M if you want to, but you can also just use an old favorite that you want to spice up. For our project, we bought a few shirts at H&M and also used an old shirt just because we loved this project so much—it became kind of addicting! The entire bleaching experience takes about a half hour and that includes rinsing.
To start out, find a good area for bleaching. Put down some newspaper or a tarp so you don’t get any bleach in any unwanted areas. Lay your shirt flat on your flat surface and put a piece of cardboard inside it so that the bleach doesn’t bleed through.
For your shirts, you can essentially create any design you want. My friend painted on lyrics on her shirt, which turned out great and I did this as well on another of mine. I also used a plastic squirt bottle filled with bleach to create a random assortment of bleach-made shapes, and on another shirt, which I think turned out to be my favorite, I created a striped pattern.
Once you choose your design, I recommend first painting on your design with water so that way you can get used to the brush without painting on anything permanent and also so that you can easily create your design with the bleach. This technique also allows for the bleach to soak into the material easier. If you choose to use a squirt bottle to create a random pattern, you don’t need to use the water first. Once you’re ready, paint your design over the water blueprint and allow for it to dry. Don’t be afraid to put anything on the back either because that could look really cool as well! Once you’ve waited at least ten minutes so that the bleach has a chance to sink into the fabric, wash your shirt in a tub or a sink so that the bleach comes out. You should now be left with your design! In some cases, you may need to retouch your shirt, but for the most part, it should come out looking amazing! Next, either air dry or machine dry your shirt depending on the type of fabric.
These shirts are the perfect craft for anyone looking to spice up their wardrobe or looking to create a great gift for a friend, girlfriend, or boyfriend!


