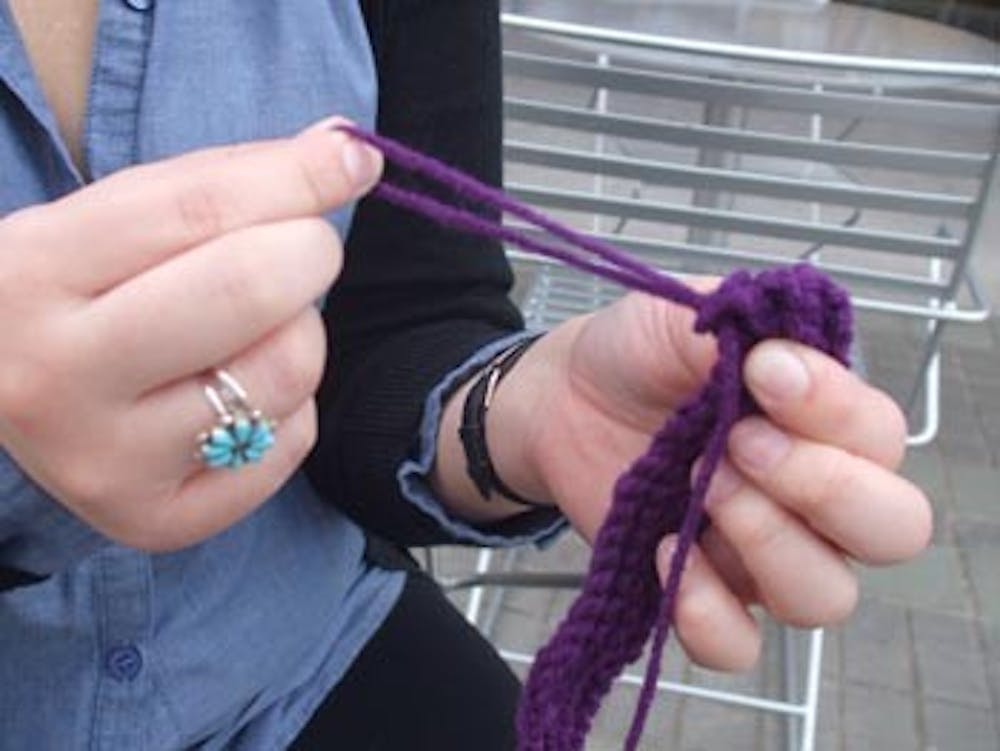
When some people think of knitting, the thought of an old grandmother knitting her grandchildren socks or Mrs. Weasley knitting Ron and the twins their monogrammed Christmas sweaters comes to mind. However, the hobby of knitting has become more popular among a younger generation with the selling of knit goods on the homemade sellers Web site Etsy and with designer Kate Spade’s mittens and hats knitted by women in Eastern Europe.
Little is known about the origins of knitting. One theory is that knitting has been a hobby for hundreds of years and stems from the art of tying knots, first perfected by seafarers of ancient times when they tied knots for fishing nets. The navigators then spread the art during their ocean travels. Since then, knitting has been used to create clothes, tapestries, flags and currently, hair bows, scarves and sweaters.
So when it comes to buying a scarf for $30 or more, knitting a scarf by yourself for less than $10 can be a fun and easy alternative.
Tools (for this particular scarf): Yarn #5 or #6 5.5 mm straight knitting needles Stitch holder (not required, but highly recommended)
Fancy knitting lingo: Casting on: First step of knitting, putting stitches onto your needle. Knit stitch: The basic knitting stitch Casting off (also known as binding off): Closing the stitches when project is finished.
Steps:
1. Create a slip knot. In order to create a slip knot, make a loop with your yarn and pull through to create a knot. Place loop on a needle in your left hand. The loop should be adjustable.
2. After a slip knot is created, it is time to cast on. To cast on, loop the yarn around your forefinger and thumb. Insert the needle under the yarn touching your thumb. Pull tightly. Cast about 30 stitches. These 30 stitches will determine the width of your scarf.
3. Once your 30 stitches are cast, you will begin the knit stitch. Hold the needle with casted stitches in your left hand and the empty needle in your right, both with the pointed edges pointing up. Have the loose yarn from the ball in your right hand
4. Insert the right needle into the left loop, below the needle in the left hand. The left needle should then be in front of the right needle.
5. Take the loose yarn in your right hand and swing it around the right needle (that is still inserted into the loop).
6. Once that step is completed, pull the stitch off the left needle and onto the right needle. Voila, a stitch is made.
7. To begin a new row, repeat steps four though six. The needle with the rows of stitches is always held in your left hand and the empty needle is always held in your right. Continue these steps until a desired length is reached.
8. Once you are ready to end the scarf, you need to cast off in order to close the stitches off from unraveling. The first step is to knit two stitches onto your right needle.
9. Pull the back stitch (the stitch farthest from the needle point) over the front stitch (the stitch closest to the needle point) and off the needle. The back stitch has then been cast off.
10. Continue step nine until there are no more stitches on the left needle and one lonely stitch on the right.
11. Pull your needle out of the stitch and pull the stitch to make a big loop by pulling the yarn connected to the ball of yarn.
12. Cut the yarn from the ball leaving a few centimeters and thread it through the loop and pull tight to close it off.
Finally, after that marathon of knitting and sore fingers, you can proudly say you knitted your own scarf!
Tips from a beginner:
Buy a stitch holder: You will not knit a scarf all in one sitting, so buy a stitch holder to protect your work from falling apart when not being worked on. Keep stitches loose: Don’t pull tight when creating stitches; keep them loose. It will much easier and faster to knit when you’re not forcing the needles into the loops because if tight stitches.Contact the reporter at erica.m.rodriguez@asu.edu.


